ANourse | StandUP | Movidy | Multimedia & Animation | Communication Systems | Probs & Solutions | JBHS

 |
||||||||||||||||||||||||||||||||||||||||
There are several major parts and processes to 3d animation but unfortunately we only have 8 days so be prepared for a fast paced but exciting 3d experience. Pay close attention and do the readings! You have options for this project. Choose one below or combine for extra points!
|
| Hotkeys to use in class: | Alt + left click - Tumble tool |
| Alt + middle click - Track tool | |
| Practice | Alt + right click - Dolly tool |
| using | Q - Select Tool |
| these | W - Move tool |
| hotkeys! | E - Rotate tool |
| R - Scale tool | |
| They | T - Manipulator tool |
| will | Spacebar - hotbox |
| make | F - Zoom to selection |
| it | 1- Rough quality display setting |
| much | 2 - Medium quality display setting |
| easier | 3 - Smooth quality display setting |
| to | 4 - Shading > Wireframe |
| model! | 5 - Shaded display |
| 6 - Shaded and Textured display | |
| 7 - Lighting > Use All Lights | |
| Cmd+D - duplicate selection D+V or D- move pivot point |
3d programs are 100% VECTOR. They consists of polygons & NURBS. Polygons have 3 parts (vertices, edges, faces). They consist of meshes and the objects aren't perfectly smooth
but can be subdivided into smaller faces to make smoother. Nurbs are organic in nature and consists of true smooth curves but require more computer processing power
so generally are used for professional productions mostly.
Duplicating
Cmd + D then move it
Duplicate Special
Extruding a face, edge, or vertex
Sending to Mudbox Error
UV Mapping
VISOR
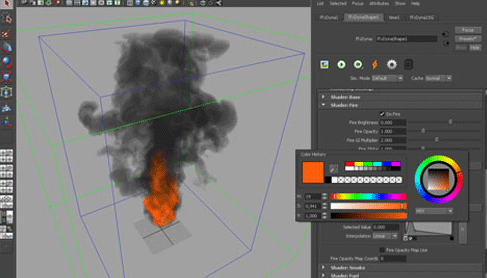
Use Visor to add plants, clouds, fire, food, etc.
On menu bar go to Window, General Editor, Visor.

Animate a camera rotation around your model using the tutorial above.
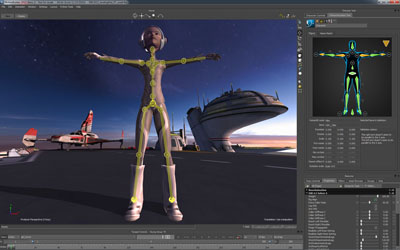
Character Setup
Creating character rig video tutorial playlist below.
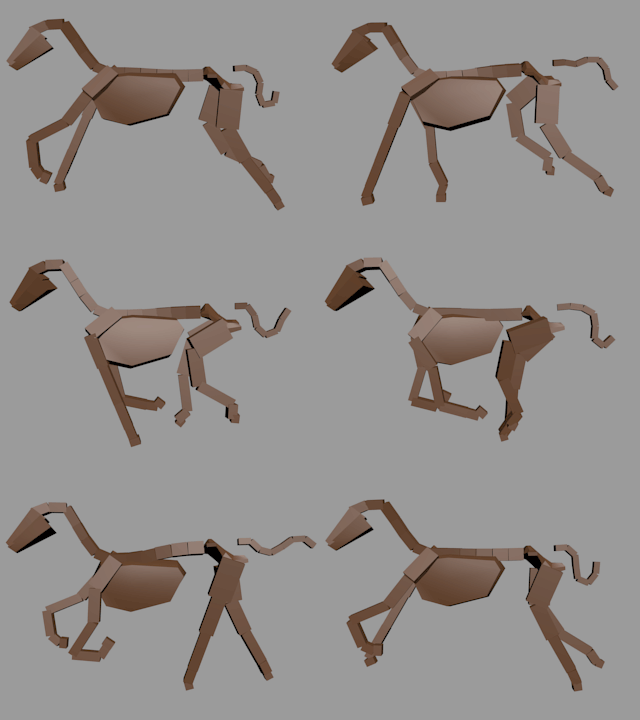
Rigging a character prepares them for animating by adding joints & bones. Next you "skin" it which means to combine the mesh with the rig.
Read more using the links below.
Fluid Effects & Colliding Fluids

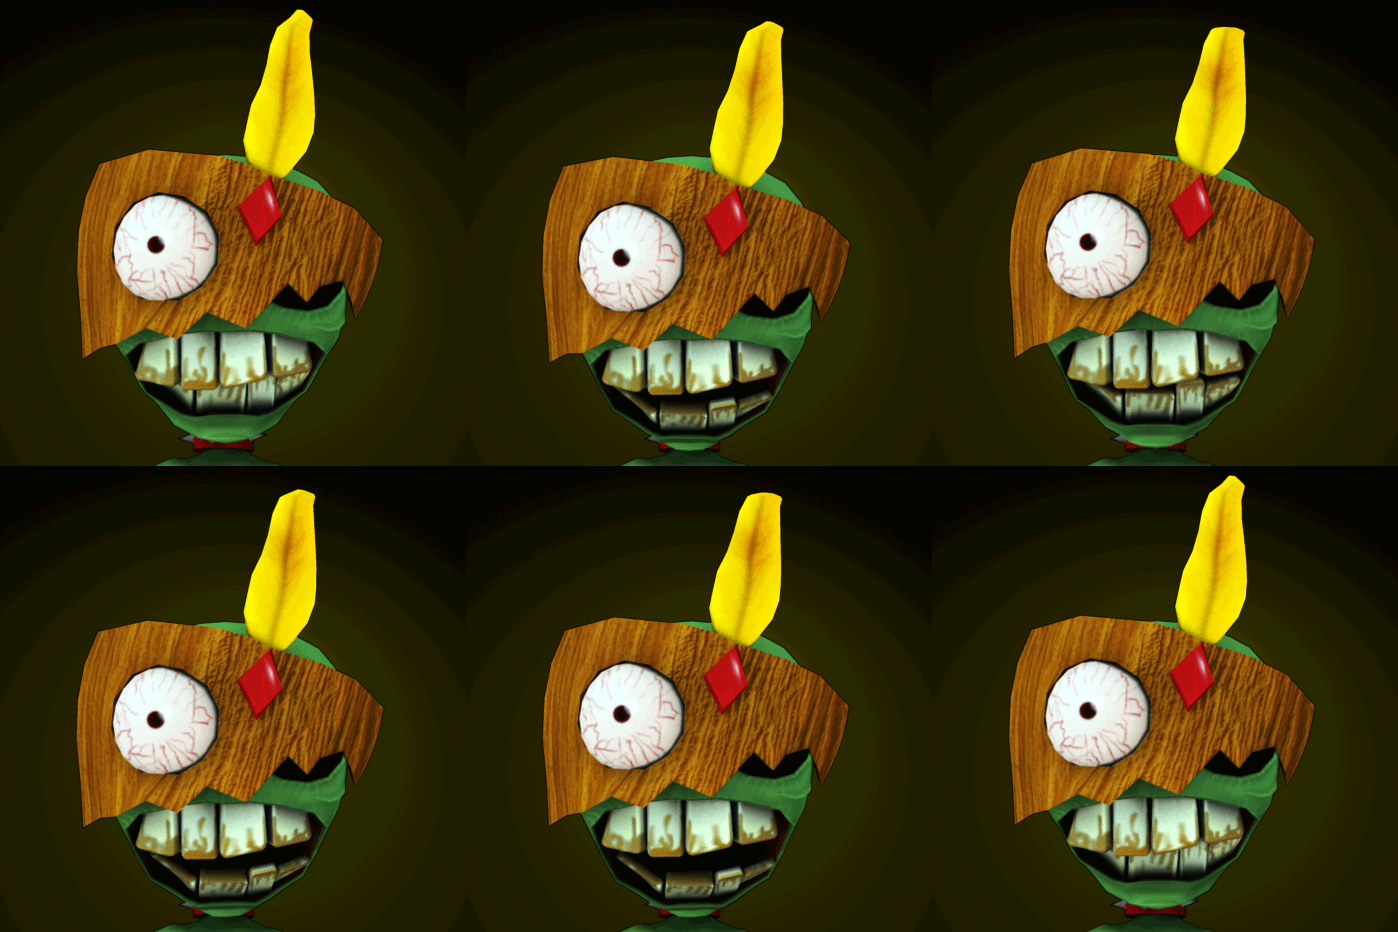
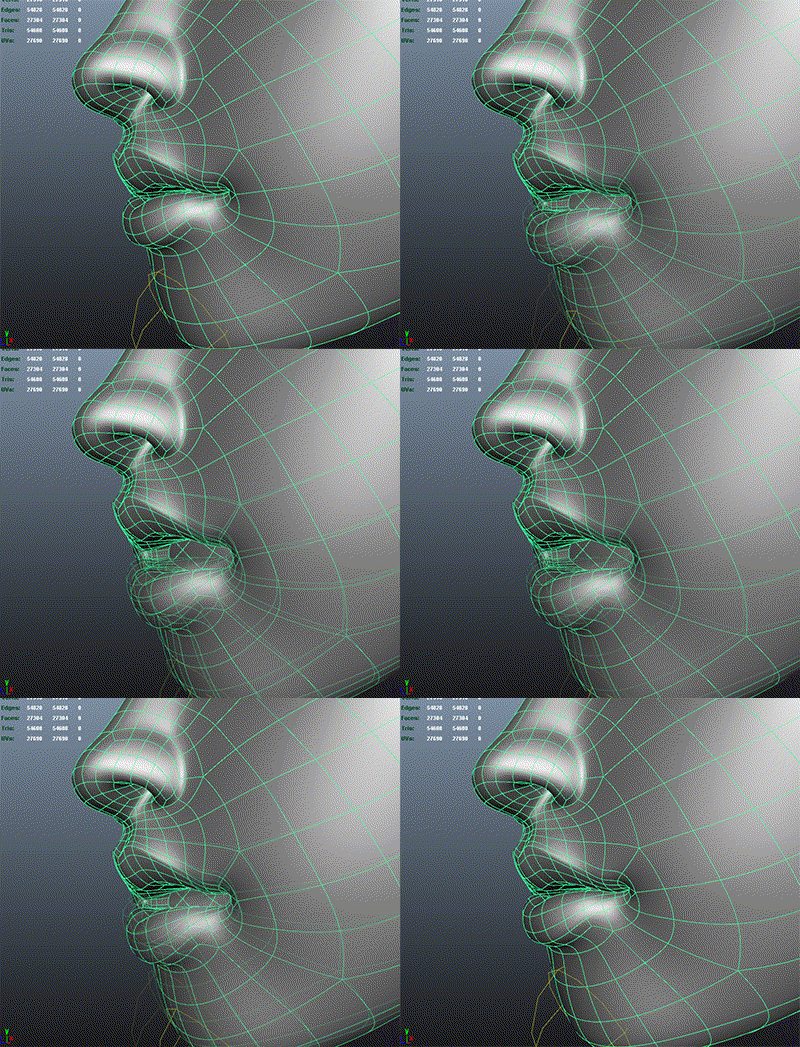
Lipsyncing
Here's a link to numerous websites with free 3D content for various programs.
Criteria Create a vehicle, character, or terrain |
Animation II students can use this site to find tutorials for Independent projects.
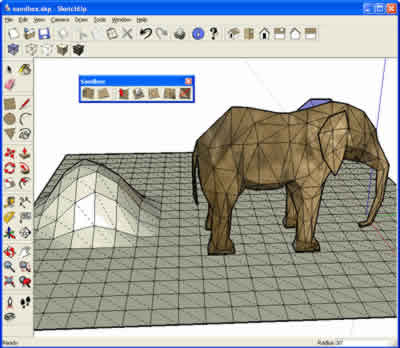
If you were absent or aren't successful with Autodesk Maya you can use another program that's called Google Sketchup. Learn about it here.
Here's some examples created by Connor Hughes, Ryan Richter, Sarai Albert, and Lindy Schweitzer.
If you want to view an actual Sketchup project (if it's installed on your computer) click here.
 |
 |
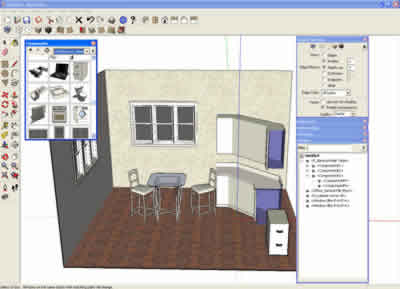 |
Sketchup has several types of tutorials that will help. Use them to create your building. You should create your company store or a museum in which you can hang pictures or photographs of your work from this year.
You need to design the interior and exterior thoroughly. Design the inside with detail and landscape the exterior completely. The more the better.
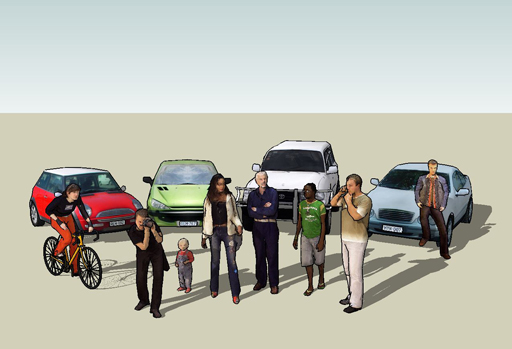
Pay attention to the scale of your building and all objects. They should be scaled appropriately for real life size humans.
The basic criteria if using Google SketchUP:
Exterior - street, sidewalk, grass, shrubbery or trees, parking lot, lights, textures, and sign created in Photoshop or Illustrator and added to front of building.
Interior - basic furnishings, painted or textured walls, flooring, lights, windows, doors, and four or more of your personally created images on the walls as posters.
The last step of this assignment is to export an animation video of your building. You can animate a fly through around your building or a walk through it.
If you enjoy using 3d software after finishing the above assignment research various types of software and determine which one you want to use
at home such as: Blender, Poser, Vue 7, Pov Ray, Doga, Anim8or, WorldBuilder, Webmaker, Terragen, or another. Many of the mentioned software is open source (free)!
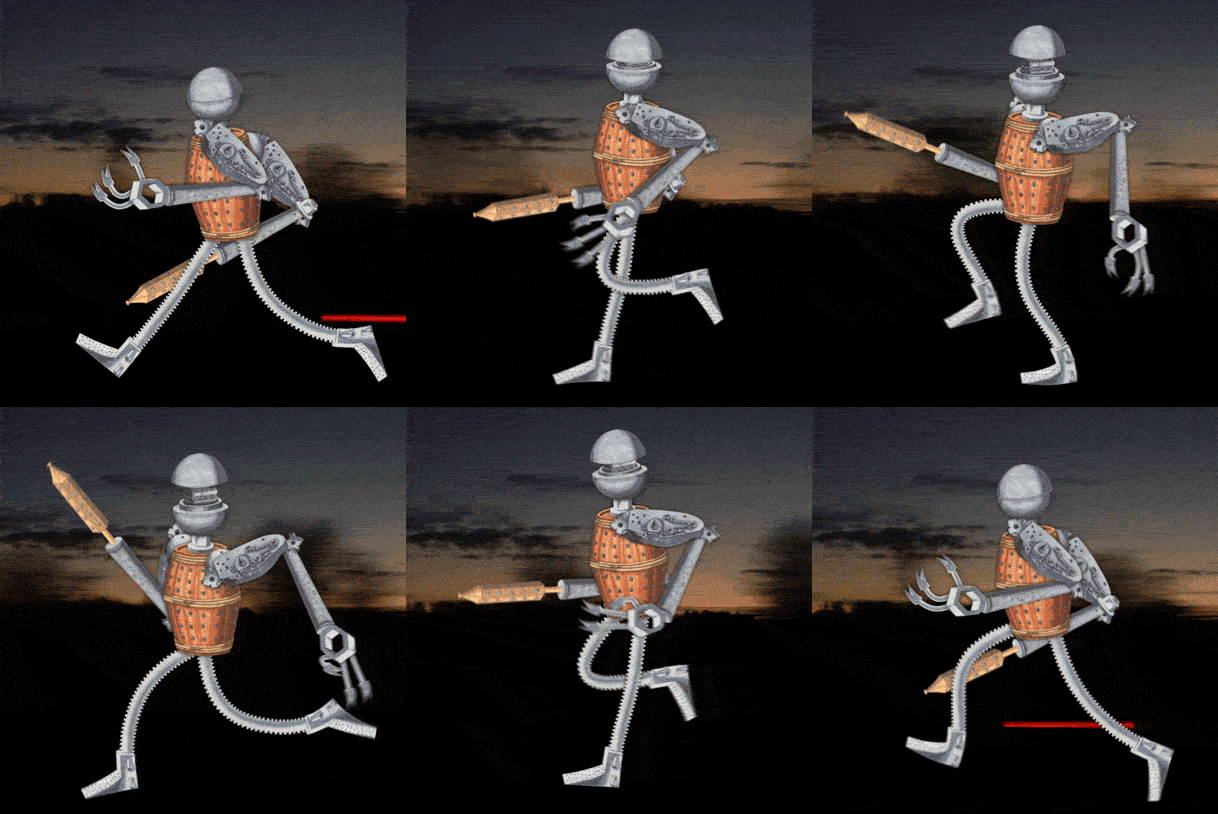
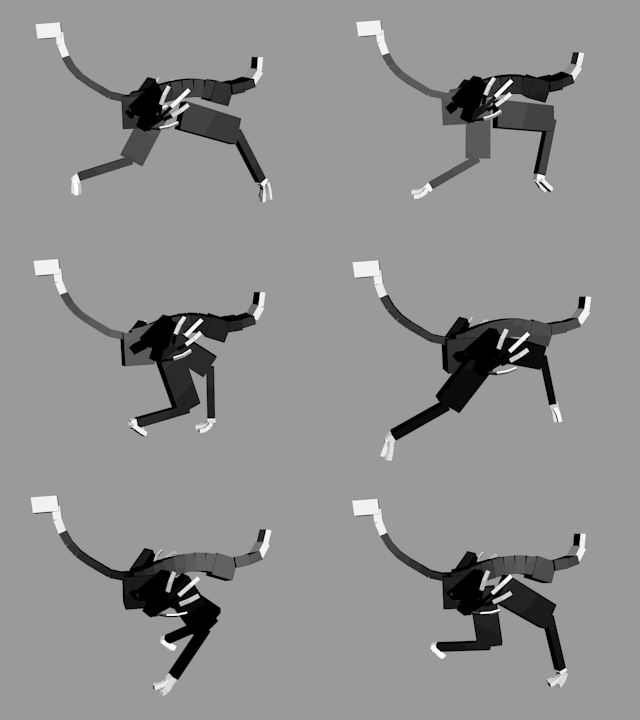
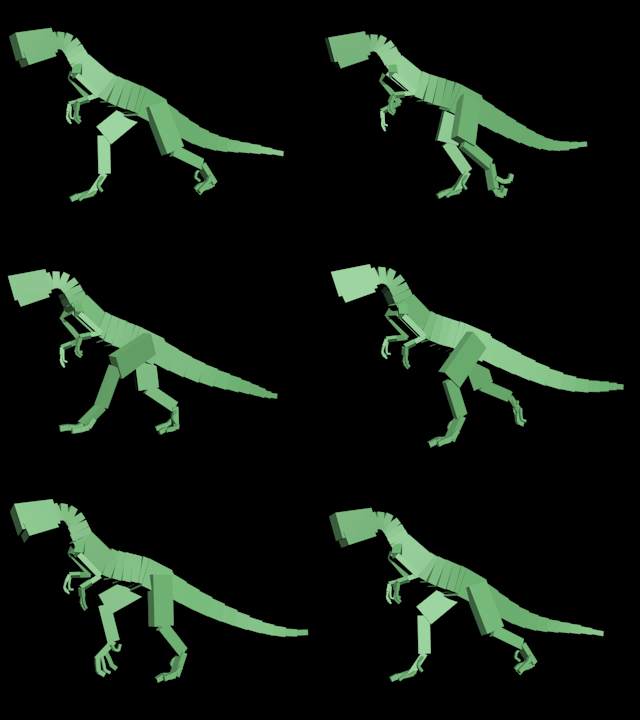
Motion capture technology is emerging as a major art form that many animation companies are implementing as their main technique in 3D productions.